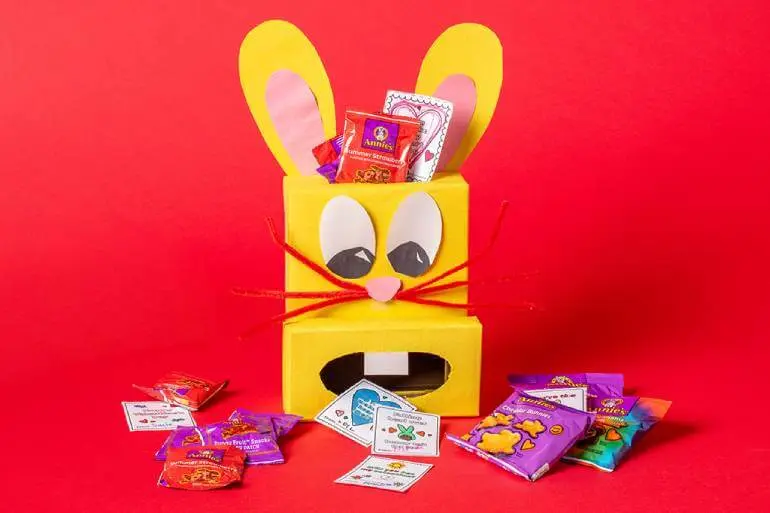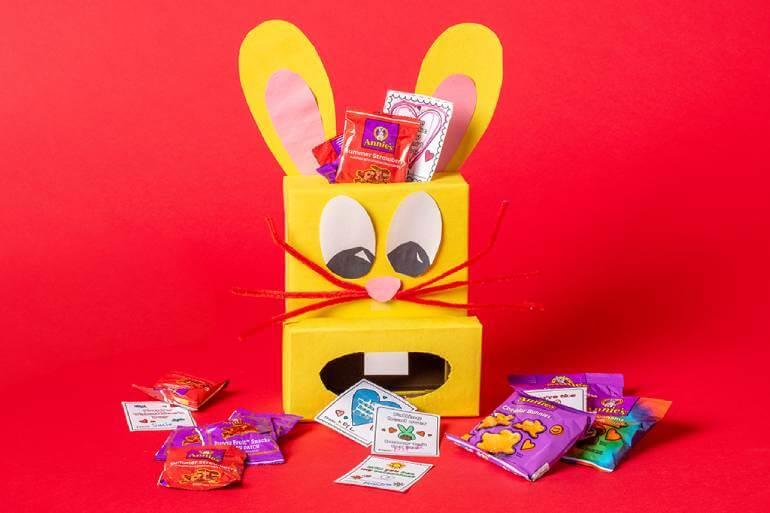
DIY Valentine’s Day Box for Kids
What’s more fun than making Valentine’s Day cards and crafts? Giving them away — and collecting sweet cards from your friends too! That’s where this easy DIY Valentine’s Day box bunny comes in. It’s really easy to put together and fun to decorate.
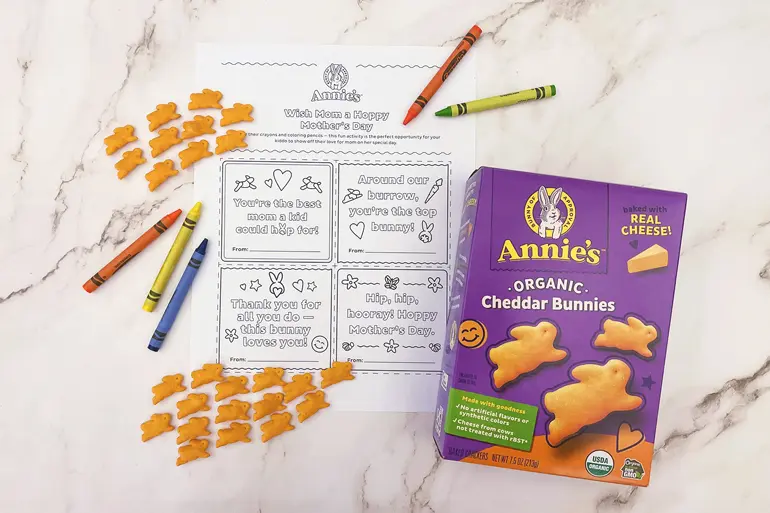
Best of all, it upcycles your used Annie’s mac and snack boxes into something useful and adorable. If your Annie’s boxes are still full of yummy food, you can move it to ziplock bags and save it for another day. Except those snacks, which will be fantastic Valentine’s Day treats. Well, go ahead and eat a few: hoppiness is crafting and snacking at the same time.
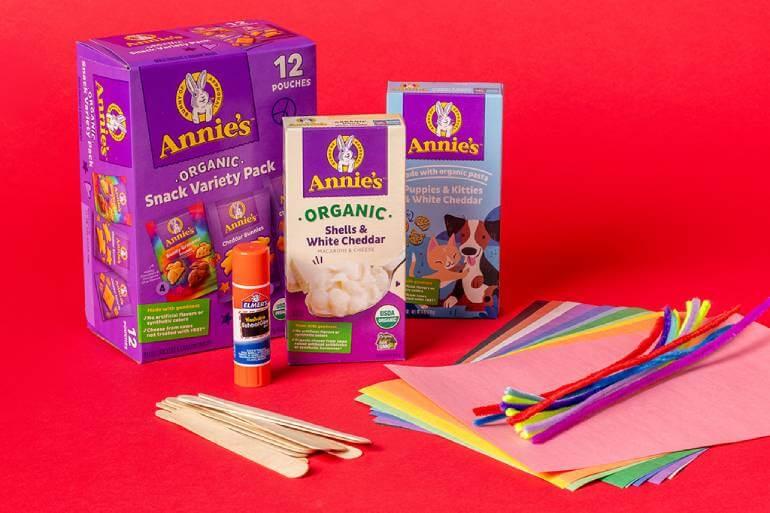
Supplies
- 2 boxes Annie’s Mac & Cheese
- 1 box Annie’s Organic Bunny Fruit Snacks (you can also use a snack variety pack box)
- Craft knife and scissors
- Wrapping paper, construction paper, or craft paper
- Glue sticks and tape
- Craft sticks
- Pipe cleaners
- Crayons or markers (optional)
Steps
- To make the ears: Open both ends of one mac box. Using scissors, cut the box open from end to end. Cut two bunny ears from the cardboard.
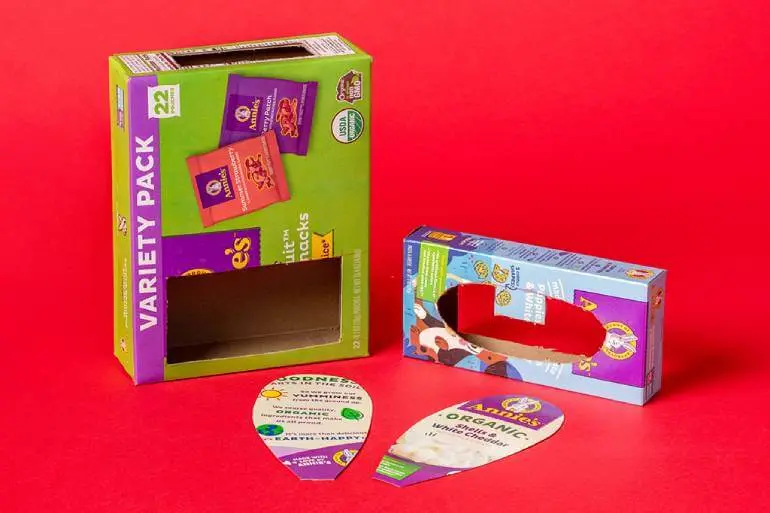
- To make the mouth: Using the craft knife, carefully cut a mouth horizontally in the second mac box, including two front teeth. Then cut a second hole in the back of the mouth box — this will allow valentines to pass through the mouth and into the larger box in step 3. Note: Be sure to do this and the next step for your child.
- To make the head: Using the craft knife, carefully cut a hole near the bottom of the fruit snacks box, roughly the size and shape of the hole in the back of the mouth box. Cut another hole, or slot, in the top of the box.
- Cover the ears, mouth, and head in the paper of your choice. Tape a craft stick to the back of each ear to help it stand up. Leave about an inch or so of craft stick free at the bottom of the ears for taping.
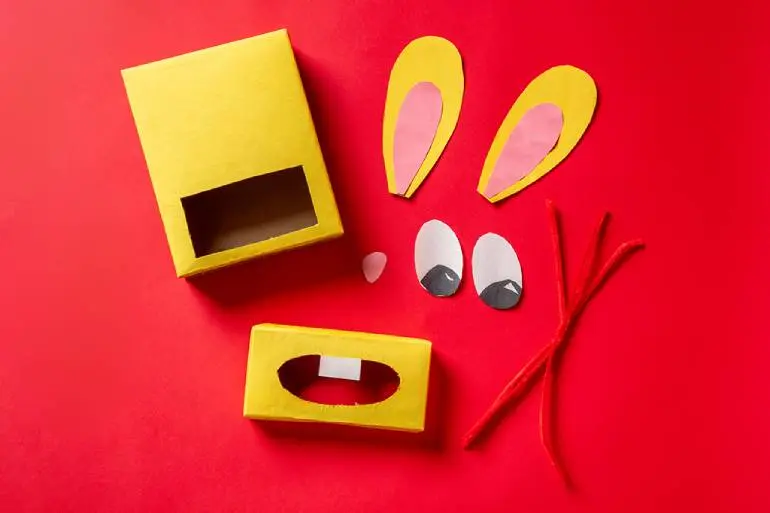
- Assemble your bunny: Use the glue stick to affix the mouth box to the head, lining up the holes, then tape the ears onto the back of the head.
- Add eyes, nose, and whiskers, fill with valentines and tasty snacks, and your Valentine’s Day mailbox is ready to go to school.